lesson 4:
designing a water filtration system
learning goals:
you will design and test a multi-step water filtration system incorporating electrocoagulation.
you will apply the engineering design process to solve real-world water challenges.

materials
-
![]()
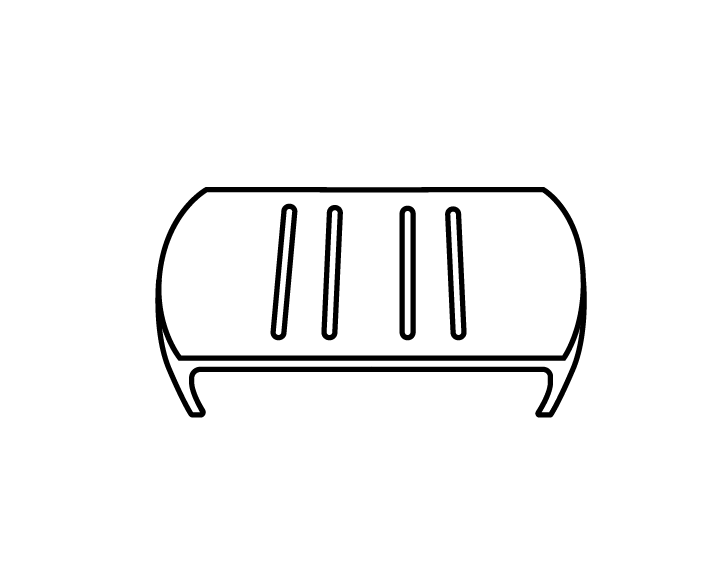
3D printed case
-
![]()
microbit
-
![]()
jar
-
![]()
3D printed lid
-
![]()
usb cable
-
![]()
lid
-
![]()
salt packets
-
![]()
coffee filters
-
![]()
2x aluminum electrodes
-
![]()
paint packets
-
![]()
sand/charcoal


let’s start ↓
Step 1: preparing the polluted water sample
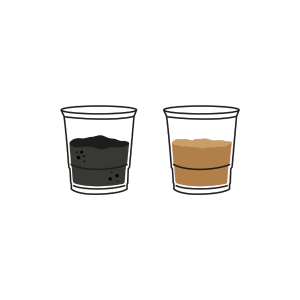
Add the paint packet and salt to the mason jar filled with water and screw the lid onto the mason jar.
Shake the mason jar until the water is too dark to see through.


Step 3: designing and testing additional filtering systems
Prepare additional filtration layers such as:
Sand layer to remove large particles.
Charcoal layer to absorb chemicals and improve clarity.
Extra coffee filters to capture remaining solids.
Work with your team to design the best multi-step filtration system using these materials.
Pour the coagulated water through your filtration system and observe the results.


Step 2: setting up electrocoagulation
Clip the 3D-printed lid onto the mason jar opening.
Connect the alligator clips to the top of the aluminum electrodes and insert the electrodes at an angle into the designated slots in the lid.
Power up the microbit by either using an adapter or a power bank with the USB power cable. Avoid touching the electrodes as electricity will now flow through them.
Press the “A” button on the micro:bi to turn the kit on. A “ ” symbol will appear on the display to confirm
To turn it off, press the “B” button. An “X” symbol will indicate the device is off.
Check that the power is on and look for bubbles forming around the electrodes.
Allow the process to run for 5–15 minutes. Use this time to brainstorm your additional filtration system with your team.


Step 4: observe the results
Shine a flashlight (or cellphone light) into the mason jar to observe the water. Compare the clarity of the filtered water to the untreated water.