lesson 1:
The Science of Electrocoagulation
learning goals:
you will learn the principles of electrocoagulation and its applications in water treatment.
you will identify the chemical reactions involved in removing pollutants from water.
materials
let’s start ↓
Step 1: preparing the water sample
Add the paint packet and salt to the mason jar filled with water and screw the lid onto the mason jar.
Shake the mason jar until the water is too dark to see through.
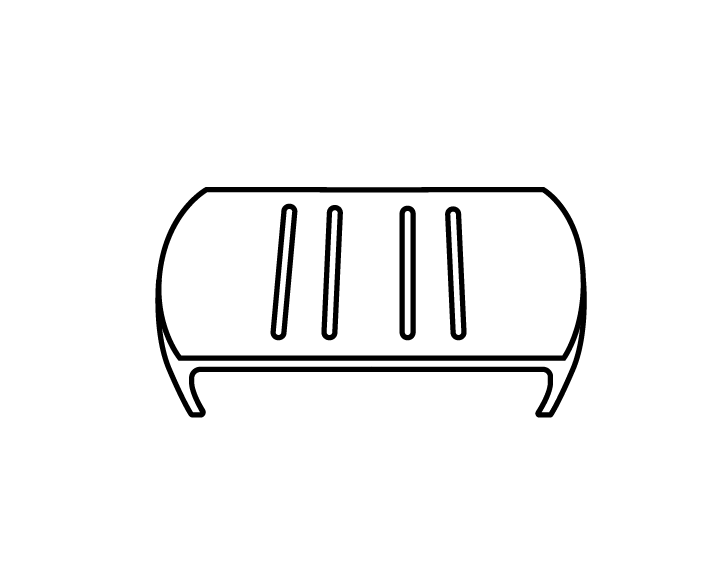
Clip the 3D-printed lid onto the mason jar opening.
Step 3: observe the results
Learn more about the electrocoagulation process and its use in wastewater treatment.
Shine a flashlight (or cellphone light) into the mason jar to observe the water. Notice the separation of clear water from the coagulated material.
Press the “B” button to turn the micro:bit off.
Unplug the USB cable from the power source.
Remove the lid and electrodes, then place the electrodes on a paper towel to dry.
Place a coffee filter over the jar’s opening, ensuring it covers the lip securely.
Pour the coagulated water through the filter and observe the results.
Step 2: setting up electrocoagulation
Connect the alligator clips to the top of the aluminum electrodes and insert the electrodes at an angle into the designated slots in the lid.
Power up the microbit by either using an adapter or a power bank with the USB power cable. Avoid touching the electrodes as electricity will now flow through them.
Press the “A” button on the micro:bi to turn the kit on. A “✔️” symbol will appear on the display to confirm
To turn it off, press the “B” button. An “Ⅹ” symbol will indicate the device is off.
Check that the power is on and look for bubbles forming around the electrodes.
Allow the process to run for 5–15 minutes. Use this time to brainstorm possibilities with your team.


